
Last updated November 20, 2026
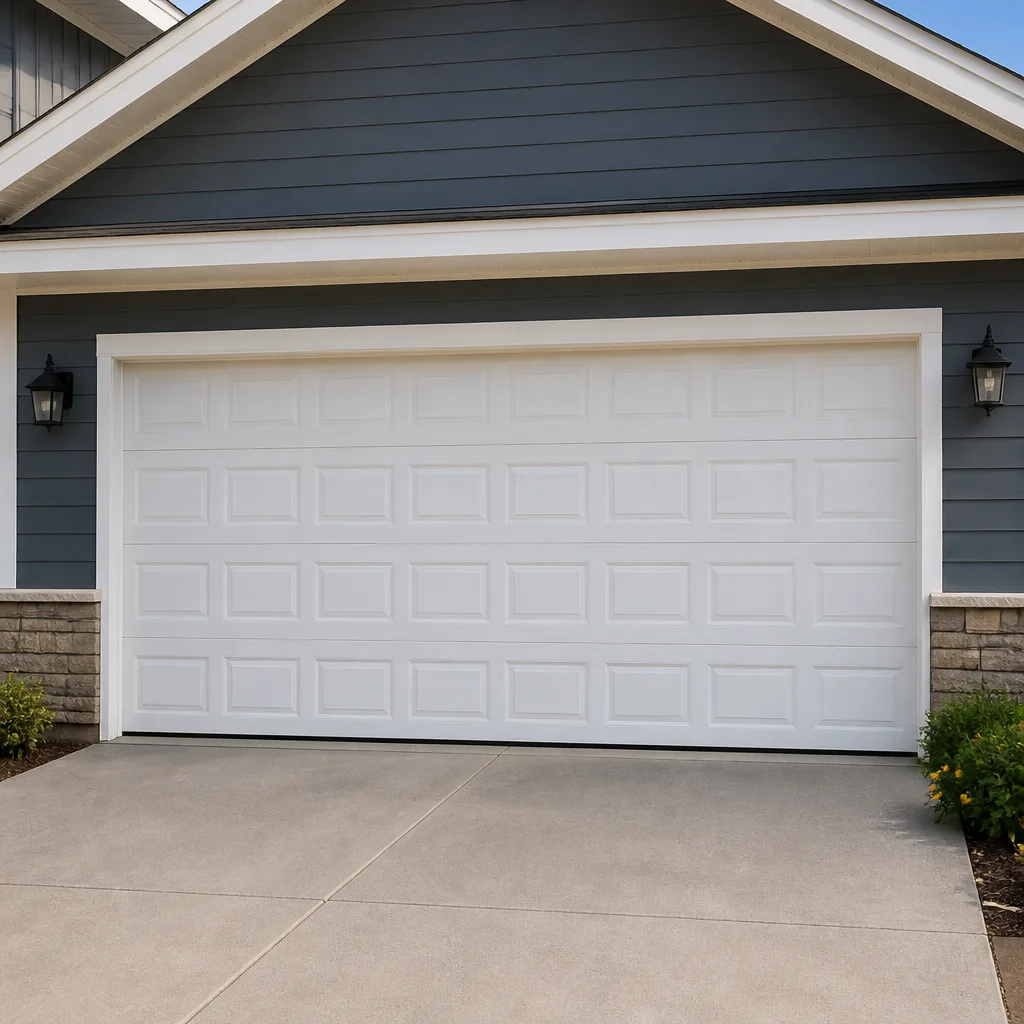 Raised-panel steel
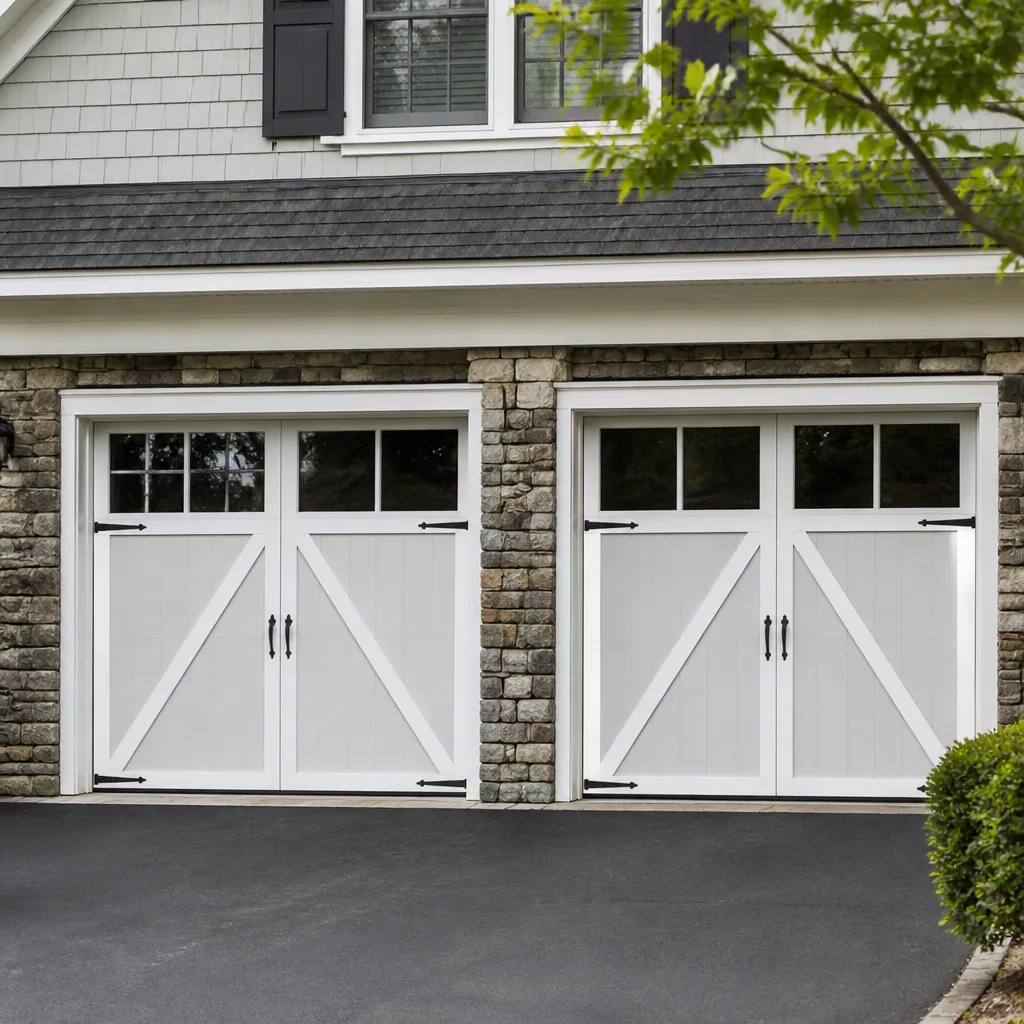 Carriage house
 Modern flush
 Full-view glass
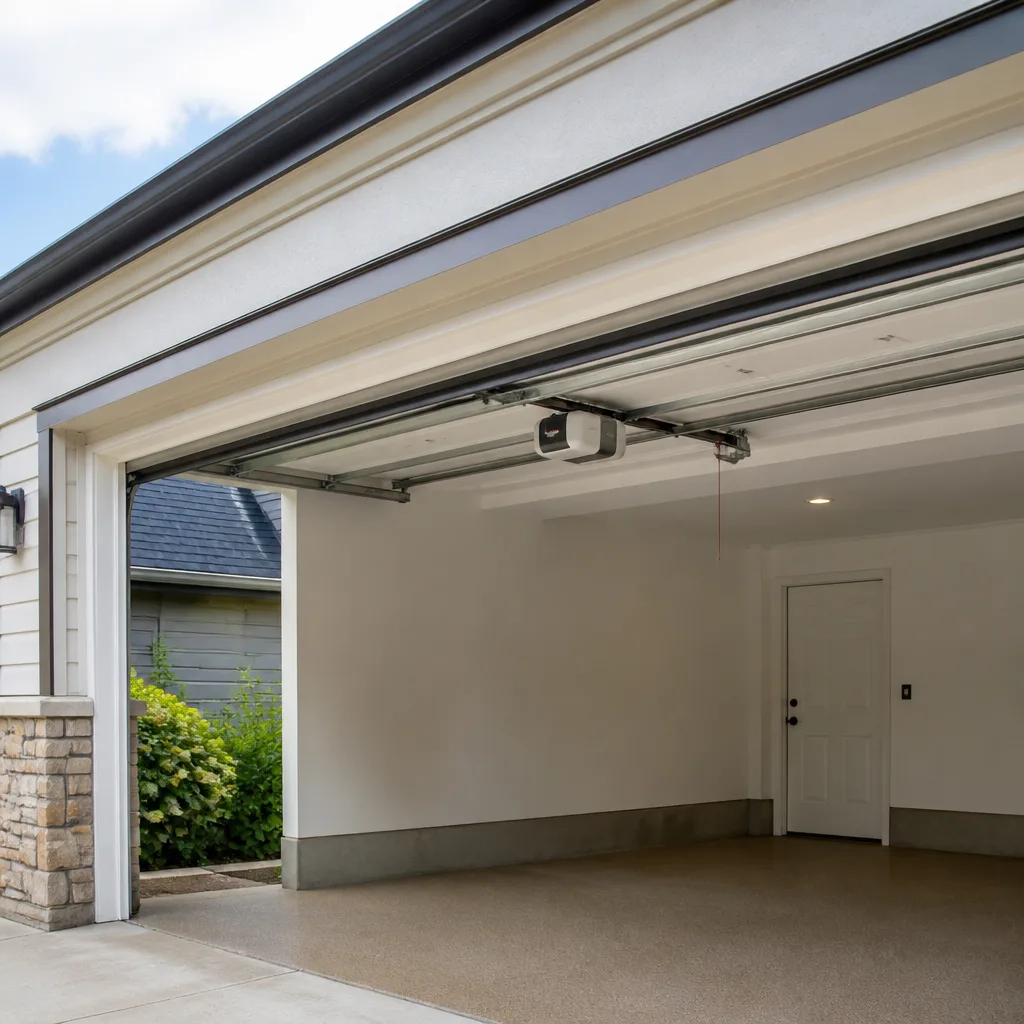 LiftMaster openers
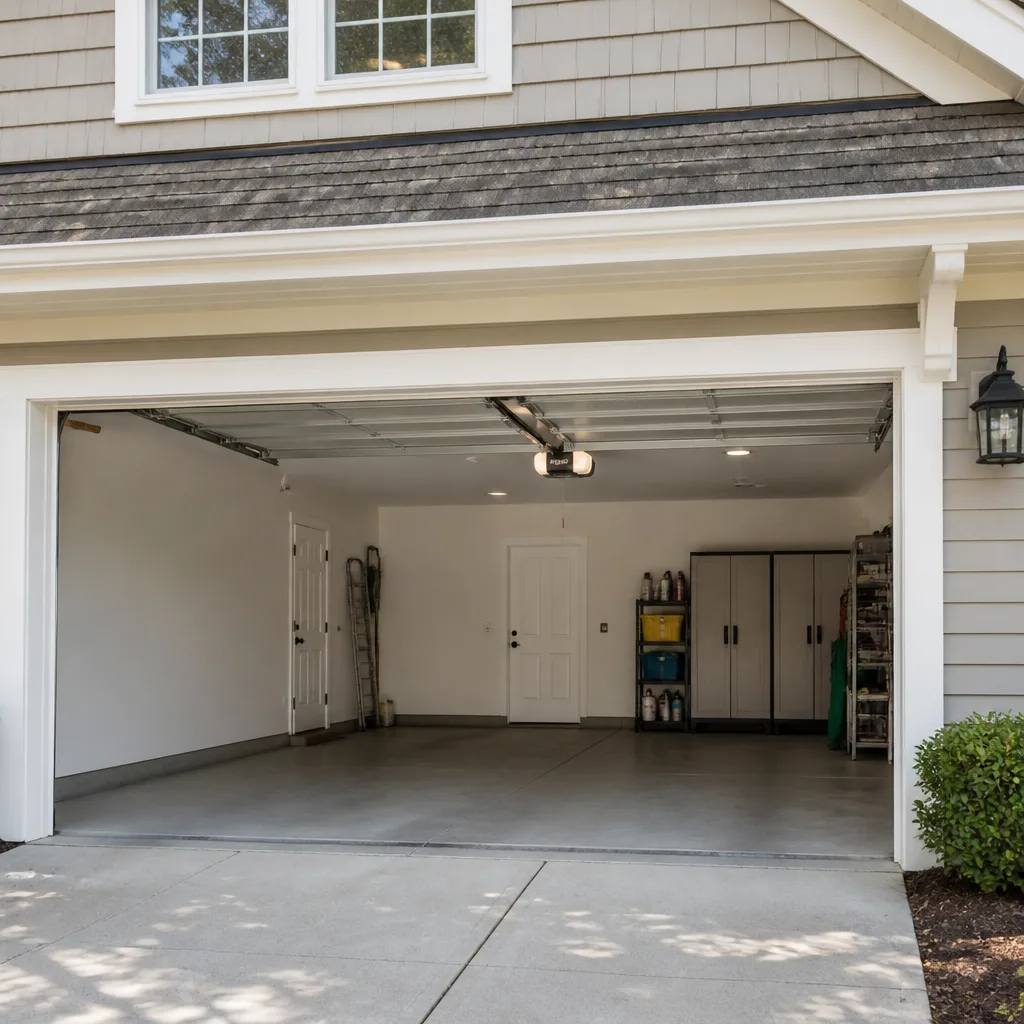 Chamberlain openers
Full 25-point door and opener safety check with every visit - springs, cables, rollers, tracks, and your LiftMaster or Chamberlain opener included
You get a price before we start. It does not change when the pro arrives.
Get your free estimateGarage Door Repair Maintenance Checklist for Jefferson Park Homeowners
Most garage doors in Jefferson Park don’t fail because of the spring. They fail because of the bottom seal. One October morning the rubber is still soft, and by January it’s a hardened strip that’s glued itself to the slab with ice. The opener strains, the door shudders, and what looked like a sudden mid-winter breakdown was decided months earlier. That’s why a checklist built around a calendar, not around a vague “inspect moving parts,” is what actually protects a door here. Below you’ll find what a failing component looks, sounds, and feels like, timed to Jefferson Park’s freeze cycle and the housing stock these doors are attached to.
Quick Answer
A garage door maintenance checklist for Jefferson Park homeowners should cover five things on a regular schedule: spring condition, cable and drum alignment, roller and hinge lubrication, bottom seal and weatherstrip integrity, and opener safety tests. Check the bottom seal in October before the first freeze and again in March as the ground thaws, and inspect torsion springs visually every month during cold weather. Most homeowner-level checks take fifteen minutes and prevent the failures that turn into a mid-winter service call.
Styles & brands we work with
- Raised-panel steel
- Carriage house
- Modern flush
- Full-view glass
- LiftMaster openers
- Chamberlain openers
Table of Contents
- Why Jefferson Park Doors Fail Differently
- Reading a Torsion Spring Before It Breaks
- Cable Tension and Drum Alignment Checks
- Lubrication for Chicago’s Temperature Range
- Bottom Seal and Weatherstrip: The October and March Windows
- Opener Force-Limit and Auto-Reverse Tests
- Hinges, Rollers, and Track Inspection
- A Full-Year Maintenance Schedule for Jefferson Park
Why Jefferson Park Doors Fail Differently
Jefferson Park sits on the northwest side of Chicago, and the housing stock here runs from brick bungalows built in the 1920s to mid-century ranches and newer infill construction. That mix matters for your garage door. Older homes often have a detached or semi-detached garage that’s unheated, which means the door and hardware sit at whatever the outside temperature is. A door attached to a heated structure stays warmer and sees less thermal movement. The same door in two different Jefferson Park garages can age at completely different rates.
Chicago’s climate adds another layer. Freeze-thaw cycles happen repeatedly through an average winter, and each one moves the concrete slab under the door slightly. That movement changes the gap between the door and the floor, which is why a seal that fit perfectly in September can show daylight in February. The metal of the door itself expands and contracts with temperature swings, and the hardware attached to it moves with it.
What this means practically:
- Unheated garages see faster seal degradation and more condensation on springs and cables.
- Older wood doors in Jefferson Park are heavier than modern insulated steel and put more load on springs and openers.
- Slab movement changes the door’s bottom clearance seasonally, so weatherstrip checks belong in your calendar twice a year, not once.
- Doors that face west or north hold ice longer after a thaw and refreeze overnight.
None of this is a reason to replace a door. It’s a reason to check the right parts at the right time, so a seal or a spring gets replaced on schedule instead of after it takes the opener with it. For a full breakdown of the repair side, see garage door repair.
Reading a Torsion Spring Before It Breaks
A torsion spring gives warning before it fails, and those warnings are visual. You’re looking at the coil above the door, mounted on a shaft, for two specific signs: coil separation and rust pitting. Both are visible from the floor with a flashlight. You don’t need to touch the spring, and you shouldn’t.
What coil separation looks like
A healthy torsion spring is a tight, even coil. When it’s under tension and wearing, the coils can begin to separate slightly, showing visible gaps between windings. A gap of more than a thin sliver is a spring that’s lost tension and is working harder than it was designed to. On a door that’s been running for years in an unheated Jefferson Park garage, this is the most common early warning sign.
What rust pitting looks like
Rust on a spring isn’t cosmetic. Surface rust is common and mostly harmless, but pitting is different: small dark craters in the metal where corrosion has eaten into the surface. Pitting creates a stress point, and a stress point is where a spring breaks. Look at the full length of the coil, especially the ends where the winding terminates. Condensation in an unheated garage over a Chicago winter is enough to start pitting on a spring that isn’t painted or oiled.
The sound test
A spring with a hairline crack will sometimes make a sharp ping or pop when the door cycles, distinct from the normal hum of the opener. If you hear a metallic snap and the door suddenly becomes very heavy to lift, stop operating it.
Safety note: torsion springs and the cables attached to them are under extreme tension. A spring that lets go can cause serious injury, and the adjustment procedure requires specific winding bars and training. This is not a homeowner repair. A trained technician handles spring work, and it’s one of the reasons spring repair is a service we treat as a core competency rather than an add-on.
Spring price in our estimates is for one spring. A matched pair is usually replaced together, so a pair costs about twice a single-spring figure. The written estimate sets the final price.
Cable Tension and Drum Alignment Checks
You can catch a door that’s been running slightly off-track without booking a service call, using two simple observations: how the cables look and how the door sits. The cables run from the bottom corners of the door up to drums at the top of the shaft. Drum alignment is visible at the top of the door on each side.
Visual checks you can do safely
- Look at both cables. Each cable should be taut and running straight. Fraying, kinks, or a cable that’s visibly slack on one side means something has shifted.
- Check the drums at the top of the shaft. The cable should be wound evenly around each drum, filling the grooves neatly. A cable that’s jumped a groove or is piling up on one side is a misalignment.
- Watch the door travel. From a safe distance, run the door up and down and watch the gap at each side. If one side leads the other by more than a fraction of an inch, the door is out of level.
- Listen at the top. A rhythmic scrape or grind as the door moves usually points to a cable rubbing where it shouldn’t.
- Check the bottom corners. The cable attaches at the bottom bracket. Look for a bracket that’s pulled away from the door or a cable end that looks disturbed.
Do not attempt to adjust cable tension yourself. Cables are under the same extreme load as springs, and a slipping cable can whip with enough force to cause serious injury. What you’re doing here is diagnosis, not repair: you’re gathering information so that when you call, you can describe exactly what you see.
If you spot any of these signs, turn the opener off at the wall and call. If the door is still usable and the problem is minor, a scheduled visit is the right move rather than repeated cycling that wears the misalignment further. Our Garage Door Repair Jefferson Park page covers what happens on a diagnostic visit.
Lubrication for Chicago’s Temperature Range
Standard WD-40 is the wrong product for garage door hardware, and it causes real damage to nylon rollers. WD-40 is a solvent-based penetrating oil, not a lubricant. It thins out and evaporates, and on nylon rollers it can degrade the material over time. What it leaves behind is a dry surface that attracts grit, which then grinds against the roller and the track.
What to use instead
- For metal-on-metal contact (hinges, springs, bearing plates): a lithium grease or a silicone-based lubricant that stays where you put it.
- For rollers and tracks: a silicone spray. Silicone doesn’t attract dust the way oil does and doesn’t degrade nylon.
- For the spring: a light coat of lubricant reduces friction between coils, but this is a visual application from a safe distance on a spring that’s already showing wear. It doesn’t fix a pitted spring.
- What to avoid entirely: WD-40 as a general lubricant, engine oil, and anything with a solvent base on nylon or plastic parts.
Frequency in a Chicago climate
Twice a year is the baseline for Jefferson Park: once in late fall before the cold sets in, and once in spring after the thaw. The fall application matters more, because lubricant applied before winter keeps moisture from sitting on metal surfaces through the freeze cycle. Grease thickens in cold weather, which is normal, but a door that’s been lubricated properly will still move smoothly at low temperatures. If your door gets noticeably stiff in January, that’s a sign it wasn’t lubricated in the fall or that a component is wearing.
One more note: apply lubricant sparingly. A heavy coat on the track collects grit and makes things worse. A thin film on hinges and a light spray on rollers is enough.
Bottom Seal and Weatherstrip: The October and March Windows
The bottom seal is the cheapest part on the door and the one most likely to cause a mid-winter failure. It’s also the one homeowners check least. In Jefferson Park, the two critical windows are October, before the first hard freeze, and March, as the ground thaws and the slab shifts back.
Why October matters
A rubber seal that’s still flexible in September can harden and crack within weeks once temperatures drop. A hardened seal doesn’t conform to the floor as the slab moves. It lifts, it lets cold air and moisture under the door, and moisture that gets under a seal freezes. That’s how a door ends up frozen to the ground on a January morning: the seal failed in October.
Why March matters
Freeze-thaw cycles over a winter move the concrete slab, and the gap between the door and the floor can change by a noticeable amount between fall and spring. A seal that was right in October can be too compressed or too loose by March. Checking in spring catches that change before summer, and it’s also when you’ll see the cracks and hardening the winter caused.
What to check
- Flexibility: press the seal gently with a finger. It should give and spring back. If it’s brittle or crumbles, it’s done.
- Cracks and splits: look along the full length, especially the corners and the center where the door flexes.
- Daylight: with the door closed, look for light coming under the seal from inside a dark garage. Any visible light is a gap.
- The sides and top: weatherstrip around the frame degrades the same way, and a gap at the top lets water in behind the door.
- Freezing: if the door sticks to the floor on a cold morning, the seal is the first suspect, not the opener.
Seals are inexpensive and easy to replace, and a replacement done before the freeze costs far less than a repair triggered by ice damage. If you’re not sure of the size, a technician can measure and fit it in the same visit as any other repair.
Opener Force-Limit and Auto-Reverse Tests
Two tests on your opener do double duty: they confirm the safety features work, and they catch mechanical wear before it becomes a failure. Both take under a minute, and both should be run monthly. If your opener is a LiftMaster, Chamberlain, or Genie, the test procedure is essentially the same across all three, though the adjustment dials or buttons are in different places.
The auto-reverse test
- Place a solid object about two inches tall on the floor in the center of the door’s path. A piece of lumber works well.
- Close the door using the opener.
- The door should reverse direction within a couple of seconds of contacting the object.
- If it doesn’t reverse, or it stops without reversing, the safety system needs attention before the door is used again.
The force-limit test
- With the door closed, pull the manual release cord to disconnect the opener from the door.
- Lift the door by hand to about halfway. It should move smoothly with moderate effort and stay in place when you let go.
- If it’s very heavy, the spring tension or a roller is the likely cause, not the opener.
- If it drops or won’t stay up, the spring has likely failed. Reconnect nothing; call for service.
- Reconnect the opener only once you’re sure the door moves correctly by hand.
A door that fails the force-limit test is telling you the opener is working harder than it should. That extra strain shows up as a burned-out motor or stripped gear months later. Catching it early is what the test is for.
If your opener is a Raynor or an older Craftsman unit and you’re not sure where the adjustment controls are, don’t guess. Call us and describe what you have. We work on the brand you already have, which means we’re not going to tell you the only fix is a new opener when the adjustment is the real answer. For opener-specific issues, see garage door opener repair.
Hinges, Rollers, and Track Inspection
The hardware on a garage door takes more punishment than most homeowners realize. A door cycles several times a day, and every cycle loads the hinges, rollers, and track. In Jefferson Park’s climate, that wear is accelerated by temperature swings that loosen fasteners and make metal brittle in the cold.
What to look for
- Hinges: look for loose screws, bent hinge plates, and wear at the pivot points. A hinge that’s working loose makes a rattle as the door moves.
- Rollers: nylon rollers should spin freely and look smooth. Flat spots, cracks, or a roller that wobbles on its stem means replacement. Steel rollers wear differently and can develop flat spots that thump.
- Track: the vertical and horizontal tracks should be straight and firmly attached. Look for dents, bends, or track that’s pulled away from the wall. A track that’s out of alignment causes the door to bind, which overloads the opener.
- Bolts and fasteners: check the bolts that hold the track brackets and hinges. Vibration loosens them over time, and a loose bracket is a track misalignment waiting to happen.
- The door panels themselves: on older wood doors especially, look for rot at the bottom edge where moisture collects.
This is the section where a homeowner can do real good with a screwdriver and a visual pass. Tightening a loose bracket and replacing a worn roller is straightforward. If you find a bent track or a hinge that’s pulled away from the panel, stop and call, because forcing a misaligned track makes it worse.
Parts availability matters here. When a roller or hinge needs replacing, having the right component on hand means the fix happens in one visit rather than waiting on an order. That’s why parts supply is part of what we do.
A Full-Year Maintenance Schedule for Jefferson Park
Here’s the whole checklist in calendar form. This is the sequence we’d suggest for a Jefferson Park home, timed around the freeze cycle rather than a generic “twice a year” rule.
- Monthly (year-round): run the auto-reverse and force-limit tests on the opener. Look at the torsion spring for coil separation and rust pitting. Listen for new sounds during the cycle.
- September: check the bottom seal for flexibility and cracks. This is your last chance to replace a hardening seal before the freeze.
- October: lubricate hinges, springs, and rollers with the right products. Tighten loose bolts on the track brackets and hinges. This is the most important maintenance month of the year in Jefferson Park.
- November through February: keep up the monthly spring and opener checks. Watch for the door sticking to the floor on cold mornings, which points to a seal problem. Don’t force a frozen door open with the opener.
- March: re-check the bottom seal and weatherstrip after the thaw. Look for cracks the winter caused. Check the track for movement from slab shifting.
- April: lubricate again after the thaw. Inspect rollers and hinges for winter wear. This is also a good time to check the door’s balance with the manual release test.
- Anytime: if you hear a snap, the door becomes heavy, or the opener strains, stop and call. Those are the signals that a component has failed.
A door that gets this routine tends to last longer and fail less often, and when something does go, you catch it while it’s still a small repair. If you’re planning a replacement rather than a repair, the seasonal checks still matter for the door you have now, and you can read about the options on our garage door installation page.
Common Mistakes to Avoid
- Using WD-40 as a lubricant. It’s a solvent, not a lubricant, and it degrades nylon rollers over time. Use silicone spray on rollers and tracks and lithium grease on hinges and springs.
- Waiting until the door breaks to look at the spring. Coil separation and rust pitting are visible for weeks or months before a break. A monthly visual check costs nothing and gives you time to schedule instead of calling in a panic.
- Skipping the October seal check. In Jefferson Park, the seal that hardens in October is the one that freezes to the ground in January. Checking it in September and replacing it before the cold is the single highest-value maintenance item on this list.
- Adjusting spring tension or cable tension yourself. These parts are under extreme load and a mistake can cause serious injury. Diagnosis by eye is fine; adjustment is a technician’s job.
- Forcing a door that’s binding or off-track. Running the opener against a misaligned track strips gears and burns out motors. If the door is binding, stop and call.
- Over-lubricating the track. A heavy coat of oil on the track collects grit and turns into grinding paste. A thin film of silicone is the right amount.
- Assuming a heavy door means a new opener. A door that’s suddenly hard to lift usually has a spring or roller problem, not an opener problem. Replacing the opener without fixing the door just wears out the new one.
See the difference
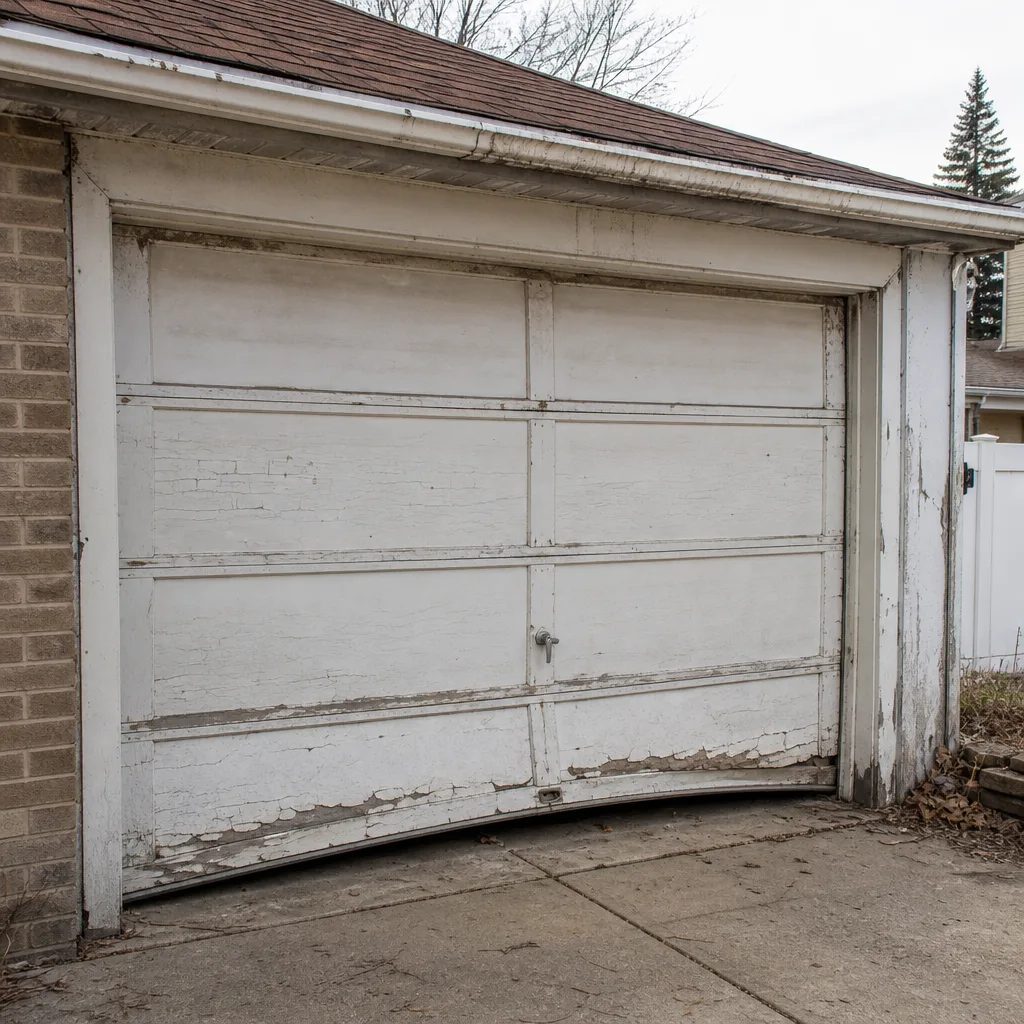 Before
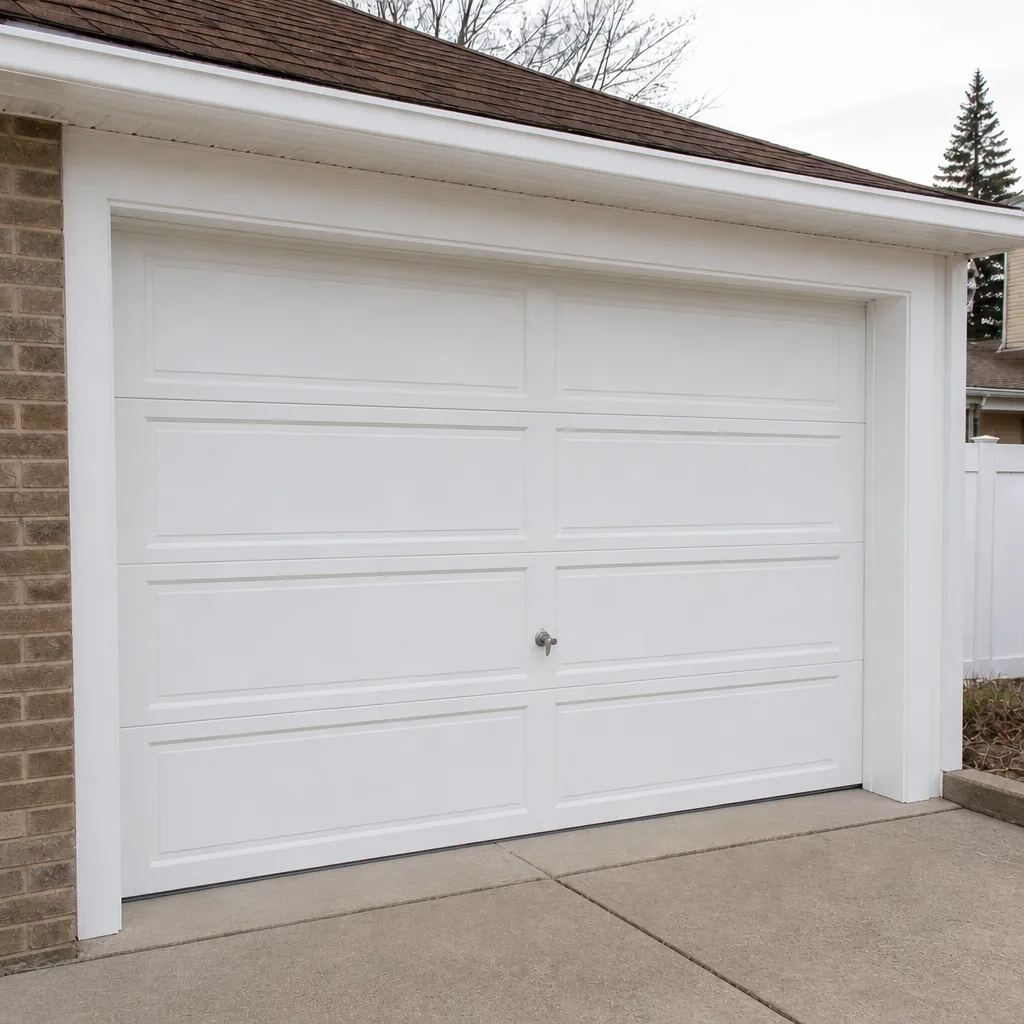 After
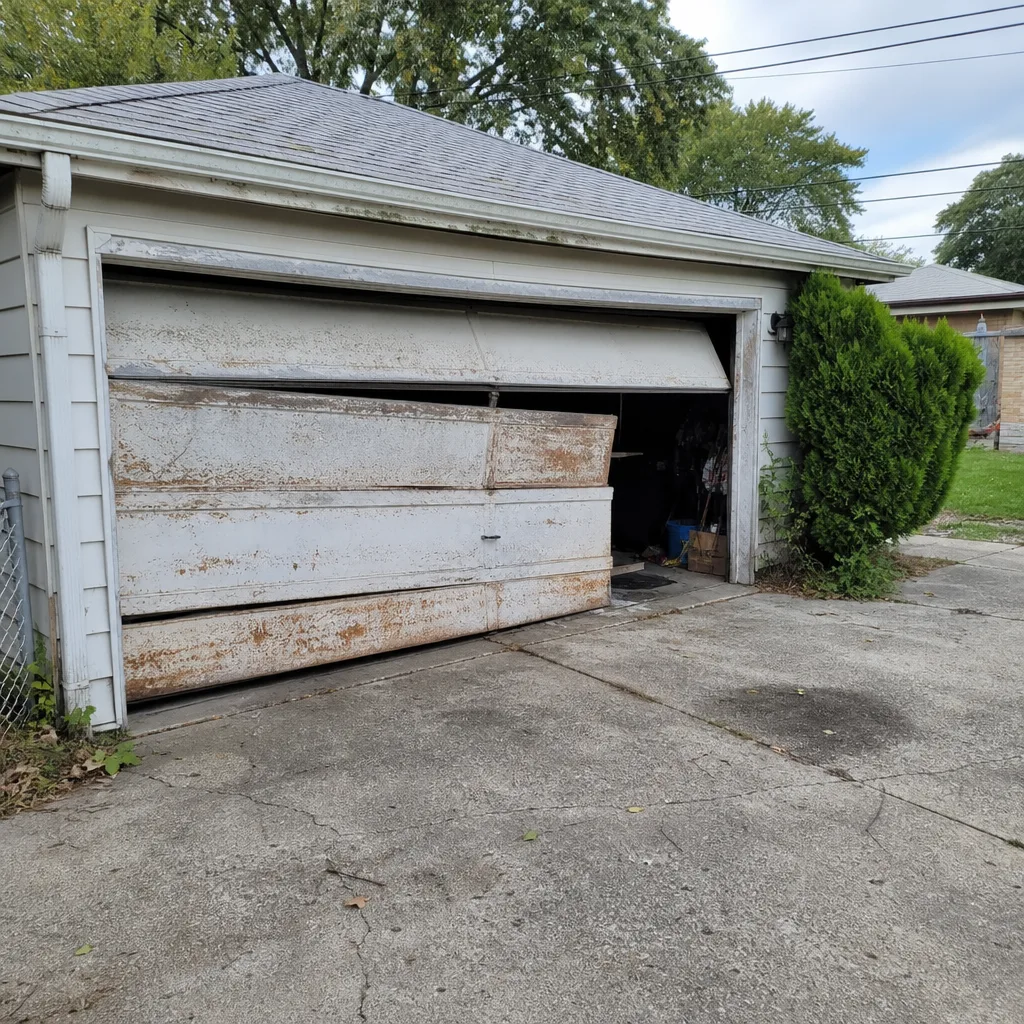 Before
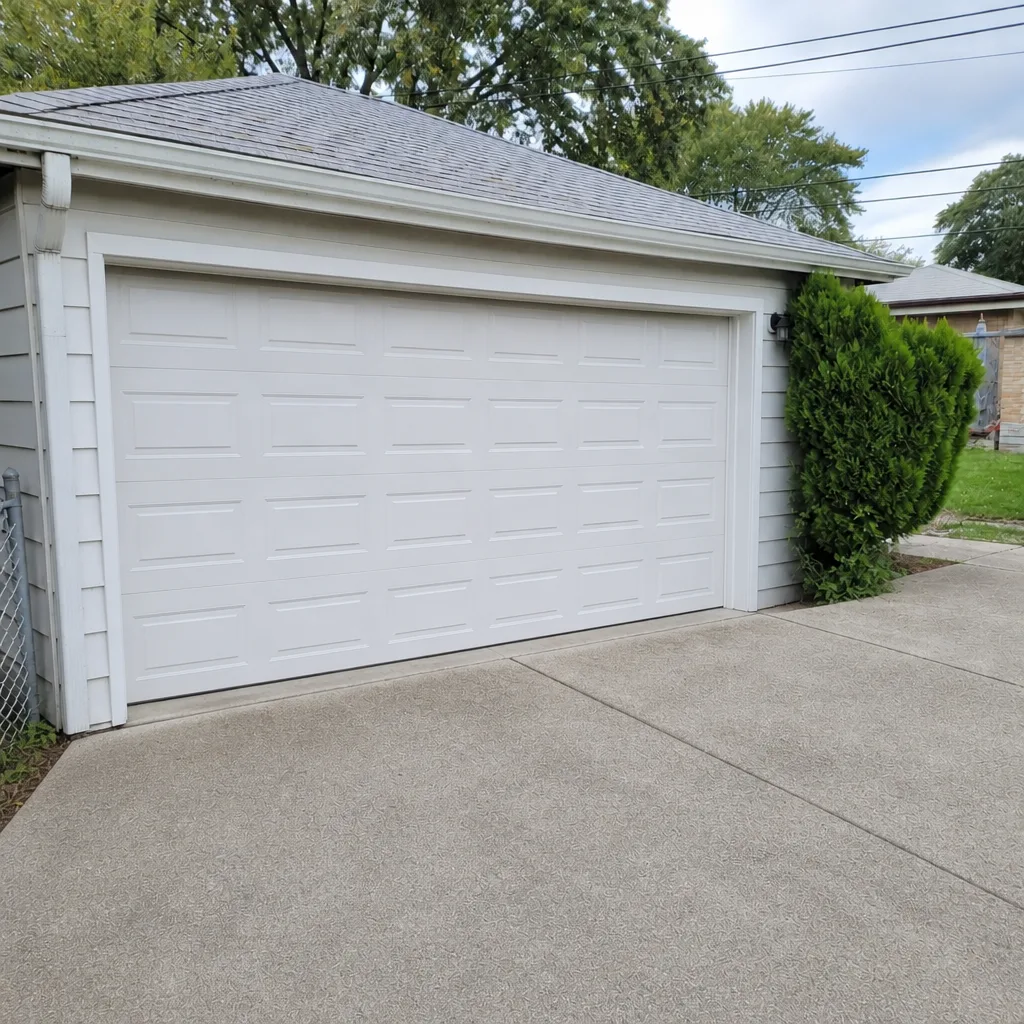 After
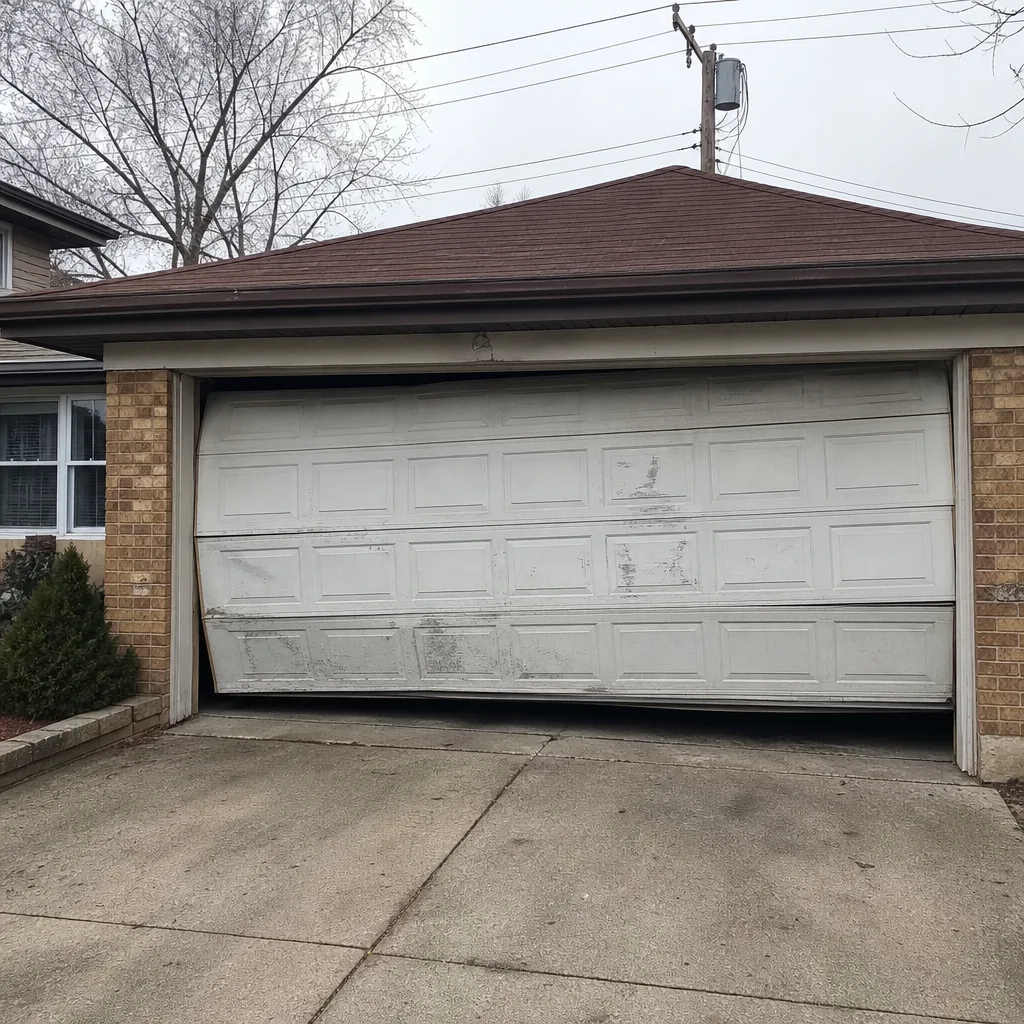 Before
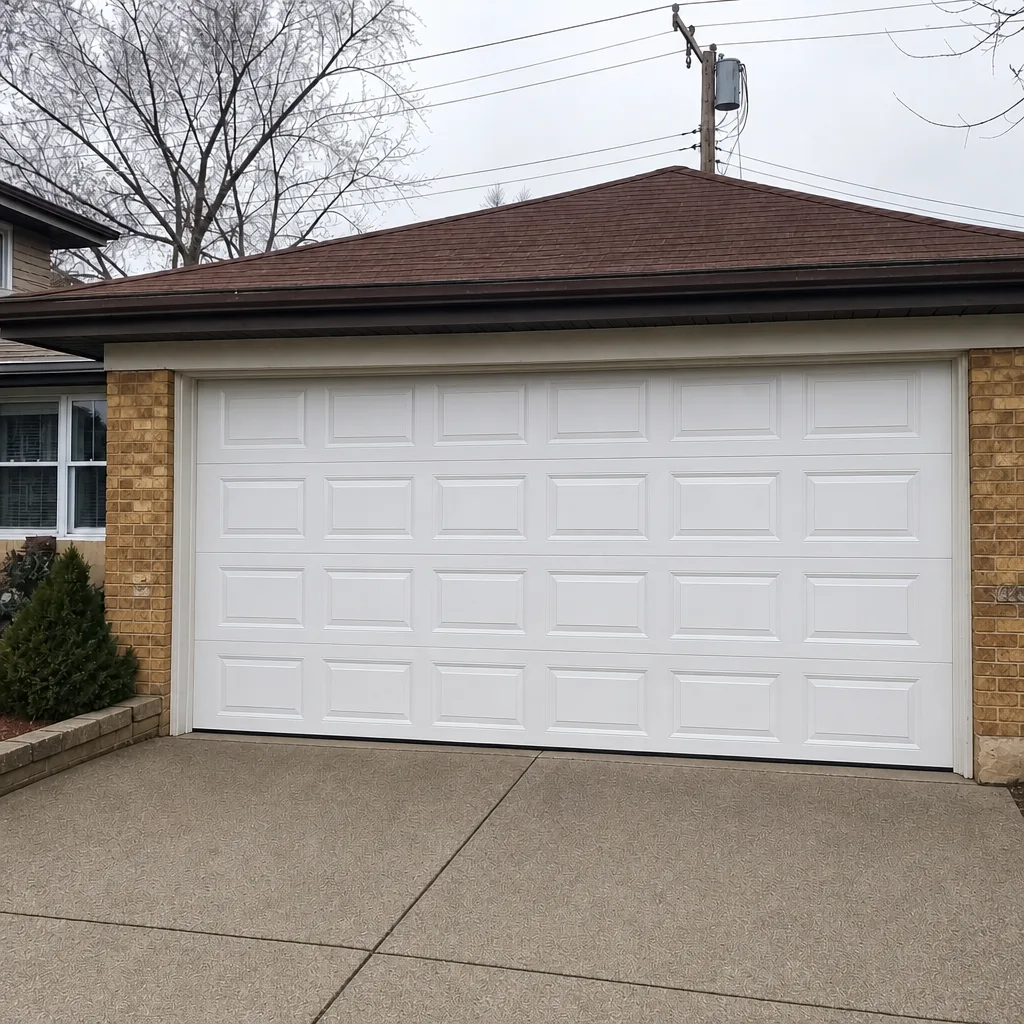 After
When to Call a Professional
Some items on this checklist are homeowner work: lubrication, visual inspection, tightening a loose bolt, running the opener tests. Others are not. Call a professional if you see coil separation or rust pitting on the spring, if the door is heavy to lift by hand, if a cable is frayed, slack, or off its drum, if the door is visibly out of level or binding in the track, or if the opener fails the auto-reverse test and you can’t correct it. Those are the situations where continuing to operate the door makes the repair bigger. Garage Door Repair Jefferson Park offers free estimates in Jefferson Park and the surrounding neighborhoods. We work on the brand you already have, across eight major brands, and we handle diagnosis, parts, and repair without a handoff. Call (877) 792-5778 for a free estimate. We answer 24/7. Fast dispatch from 7am to 7pm, Sunday through Friday.
Frequently Asked Questions
Twice a year for lubrication, in October and April, plus a monthly visual check of the spring and a monthly opener safety test. The October and March seal checks are the Jefferson Park-specific additions, because those are the two moments in the freeze-thaw cycle when the bottom seal is most likely to fail. The full routine takes about fifteen minutes a month once you know what to look for.
A failing torsion spring shows coil separation (visible gaps between windings) or rust pitting (small dark craters in the metal), and sometimes both. A spring with a hairline crack can make a sharp ping during the door cycle. If you see either sign, stop operating the door and call, because a spring under tension can cause serious injury when it lets go. Call (877) 792-5778 for an estimate.
Yes, for hinges, rollers, and the track. Use silicone spray on rollers and tracks and lithium grease on hinges and spring bearing plates, and avoid WD-40 on nylon parts. Don’t try to lubricate or adjust the spring itself beyond a light visual inspection from the floor. Call (877) 792-5778 if you’re not sure which parts need what.
A bottom seal that hardened and cracked before the cold set in is the usual cause. Once the seal loses flexibility, moisture gets under the door and freezes, bonding the door to the slab. Replacing the seal in September or October prevents it. If the door is already frozen, don’t force it with the opener. Call (877) 792-5778 and we’ll take a look.
It depends on the part and the job, so we quote per job with a written estimate before any work starts. Spring work is priced per spring, and because a matched pair is usually replaced together, a pair costs about twice a single-spring figure. The written estimate sets the final price, so there’s no surprise on the invoice. Call (877) 792-5778 for a free estimate.
No. The price is quoted and agreed before any work starts, and the written estimate is what you pay. If we find something additional while we’re there, we’ll explain it and quote it before doing anything, so you decide. Call (877) 792-5778 to schedule a free estimate.
The Bottom Line
The parts that fail on a Jefferson Park garage door are usually the parts nobody checked. A bottom seal that hardened in October, a spring that showed coil separation for months, a roller that wore flat and put the load on the opener. This checklist is built around catching those before they cascade: monthly spring and opener checks, the October lubrication and seal pass, the March post-thaw inspection, and a spring check before every winter. Fifteen minutes a month prevents most of the repairs we see. When something does need fixing, or when you’d rather have a professional run the checklist once, call us for a free estimate.
Call (877) 792-5778 for a free estimate. We answer 24/7. Fast dispatch from 7am to 7pm, Sunday through Friday.
Written by the team at Garage Door Repair Jefferson Park.